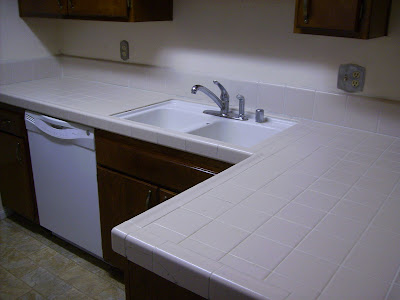
The actual process was quite the protracted experience. This is the first time we, my hubby and I, attempted tiling, though we've discussed doing various tiling projects for years. It started with demo'ing the old countertops, and building new subcounters, which I covered in my previous post.
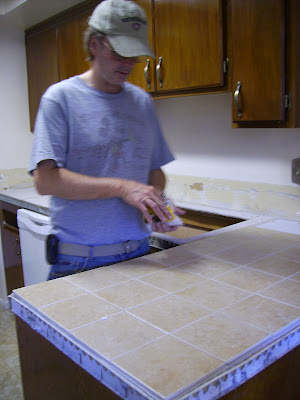
We laid out and preplanned the tiles as much as possible, using little spacers to keep the gutters consistant. In actuality, after the grouting and everything, there's areas I wished we'd gone tighter on, less spacing, but I swear those tiles shrunk after we laid them.
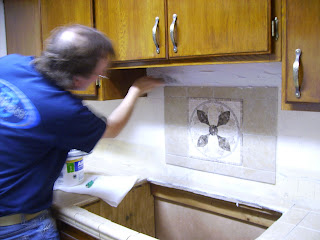
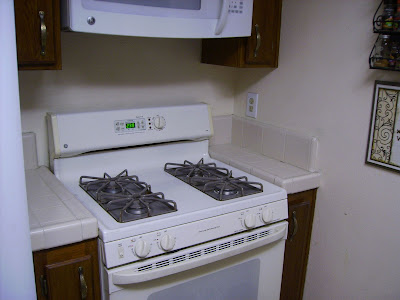
There was a question of what to do for the backsplash, have it go all the way up the wall to underneath the cabinets, or just do 6 inch tile backsplash like the previous setup. The question on tiling up to the cabinets was where to end it on this one section of countertops. At Home Depot we found this lovely 12 inch mosiac tile for $20, and decided to use it as a centerpiece over the sink area, and do the 6 inch bullnose tiles on the rest of that counter, except for behind the stove, where we took the tiles up to under the cabinetry. We laid out the mosaic in a frame with rope edging tiles to create a picture effect, using leftover tile pieces to determine our pattern and later cutting the tiles to fit. This was the fun part of the project.
Spreading that mortar stuff on was like frosting a cake, but you couldn't lick your fingers. You did need to be quick about wiping up any drips that happened, tho, we were constantly cleaning up.
Here it is starting to take shape.
We took all the measurements of the tiles we cut out for the mosiac over the sink and drew the pattern out before we laid it. Shortly after we took this picture and added the rope edging, we realized it was too far down the wall by an inch and had to pry everything up and move it up an inch. So much for our math skills.
Our sink is the third sink we brought home. The first one was slightly bent and was taken back right away. The second one we tried twice to install, both times having to remove and clean up the silicone we were using to install it with, one of the sides curved too far off the countertop, so didn't sit flush. Finally wound up with this one, which we really like. A few more hours for my hubby to reconnect all the plumbing parts, some sealing of grout and other areas, and we are done!
I'm still in recovery mode from this project. It absorbed the most of my time for 3 full weekends, and between this and some very trying issues at work, I've been overdue for an extented relaxation period. So I'm finally getting my energy back, and will attempt to get back to normal. Much easier to do when you can use your kitchen again.
I am linking up with Cielo at the House in the Roses for Show Off Your Cottage Monday.


